How to Fix Shoe Sole Separation Without Going to a Cobbler
Sole separation is a common shoe issue where the sole peels away from the upper. Luckily, you don’t need to be an expert. This guide explains how to fix shoe sole separation at home using simple tools and easy steps.
Why Does Shoe Sole Separation Happen?
Shoe sole separation happens when the glue or stitching holding your sole in place wears off. It could be due to age, water damage, or poor quality materials. Even the best shoes are not immune to this, especially if you use them daily or expose them to rough surfaces.
The more your feet move, bend, and twist inside those shoes, the more stress is placed on the glue or stitches underneath.
What You Will Need to Repair Shoe Sole Separation
Before you start the repair, make sure you have all the basic items ready. You’ll need a strong adhesive, a brush or cotton swab, a clean cloth, rubbing alcohol, masking tape, and something heavy to use as a weight.
If your shoes are extra dirty, a toothbrush and warm water will also come in handy. Choosing the right tools and glue makes all the difference when learning how to fix shoe sole separation at home.
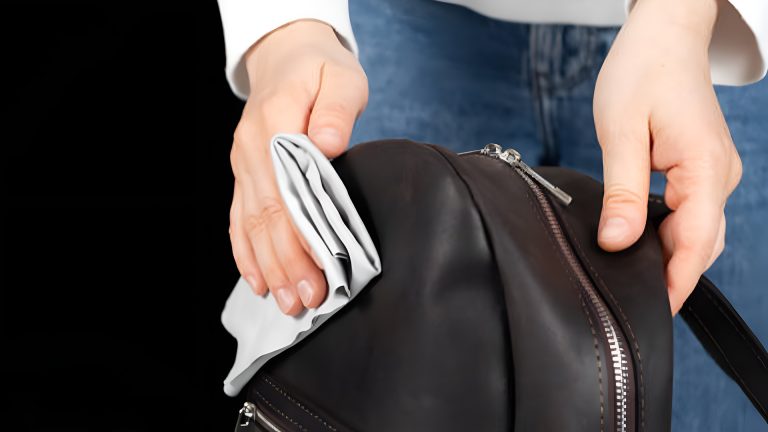
How to Clean the Shoe Surface Before Repairing the Sole
To make the glue stick properly, you have to clean the separated area well. Use a cloth dipped in rubbing alcohol to wipe away dirt, old glue, or oil. If there’s a lot of mud or debris, scrub gently with a toothbrush and let it dry completely.
Skipping this step is one of the biggest reasons shoe repairs fail. Your surface should be dry and clean before you even open your glue.
How to Choose the Best Glue for Shoe Sole Separation
You can’t just use any glue lying around at home. School glue or craft glue won’t hold under pressure. The best glue for shoe sole separation is usually a strong, waterproof adhesive designed for rubber, leather, or fabric.
Shoe-specific adhesives are available in stores and online. They stay flexible after drying, which means your shoe can still bend and move like normal without the glue cracking.
How to Fix Shoe Sole Separation Step by Step
Now that your materials are ready and your shoe is clean, it’s time to begin. First, apply a thin, even layer of glue on both the sole and the upper part where they’ve separated. Use a brush or cotton swab for better control.
Then wait a few minutes until the glue gets tacky. Carefully press both parts together and hold them firmly. Wrap the shoe tightly with masking tape and place a heavy object on top. Leave it for 24 hours without touching it.
What to Avoid When Repairing Shoe Sole Separation
Don’t rush the drying process. Letting the glue cure fully makes the repair last longer. Avoid walking in the shoes right away or exposing them to water before the glue is set.
Also, don’t use too much glue. It might seem like more glue means a stronger bond, but it can actually cause messy edges and weak sticking. Always follow the directions on the adhesive label.
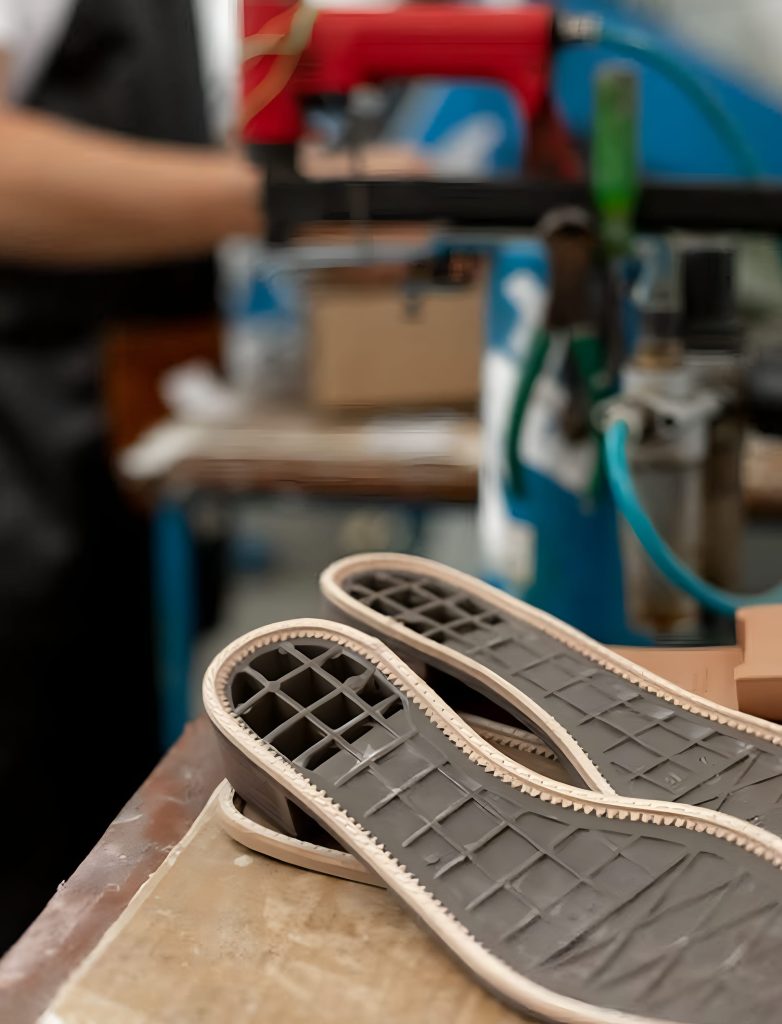
Why Professional Repair Is Better Than DIY Shoe Sole Separation Fix
Sometimes, no matter how good your glue is, the damage is too deep. If the sole is falling off completely or the material is torn, it might be better to take it to a professional.
Also, if you’ve tried fixing the same spot more than once and it keeps coming undone, you may need help from someone with better tools and techniques. Knowing when to stop and ask for help is part of learning how to repair shoe sole separation properly.
How to Make Sure Your Repaired Sole Stays Attached
Once the glue has dried, remove the tape carefully and test the bond by pressing the sole gently. Don’t wear the shoe right away for long hours. Start by using it indoors or for light walking.
Avoid wet conditions for at least another 24 hours. This way, the glue bond has enough time to settle in properly. A good fix should feel as firm as the original.
Everyday Habits That Prevent Future Shoe Sole Separation
To avoid shoe sole separation again, try to rotate your shoes regularly so they get time to air out and recover. Don’t wear the same pair every day.
Also, avoid leaving shoes in very hot or humid places like your car. Clean them once a week and check the soles for early signs of peeling. Taking small steps like these can help your shoes last much longer.
When Is It Better to Replace the Shoes Entirely
If your shoes are old, cracked, or have lost their shape, fixing the sole might not be worth it. Cheap shoes can cost more to fix than to replace.
When the top fabric starts breaking or when multiple layers of the sole are damaged, it’s time to say goodbye. New shoes might cost more upfront, but they save you time and effort in the long run.
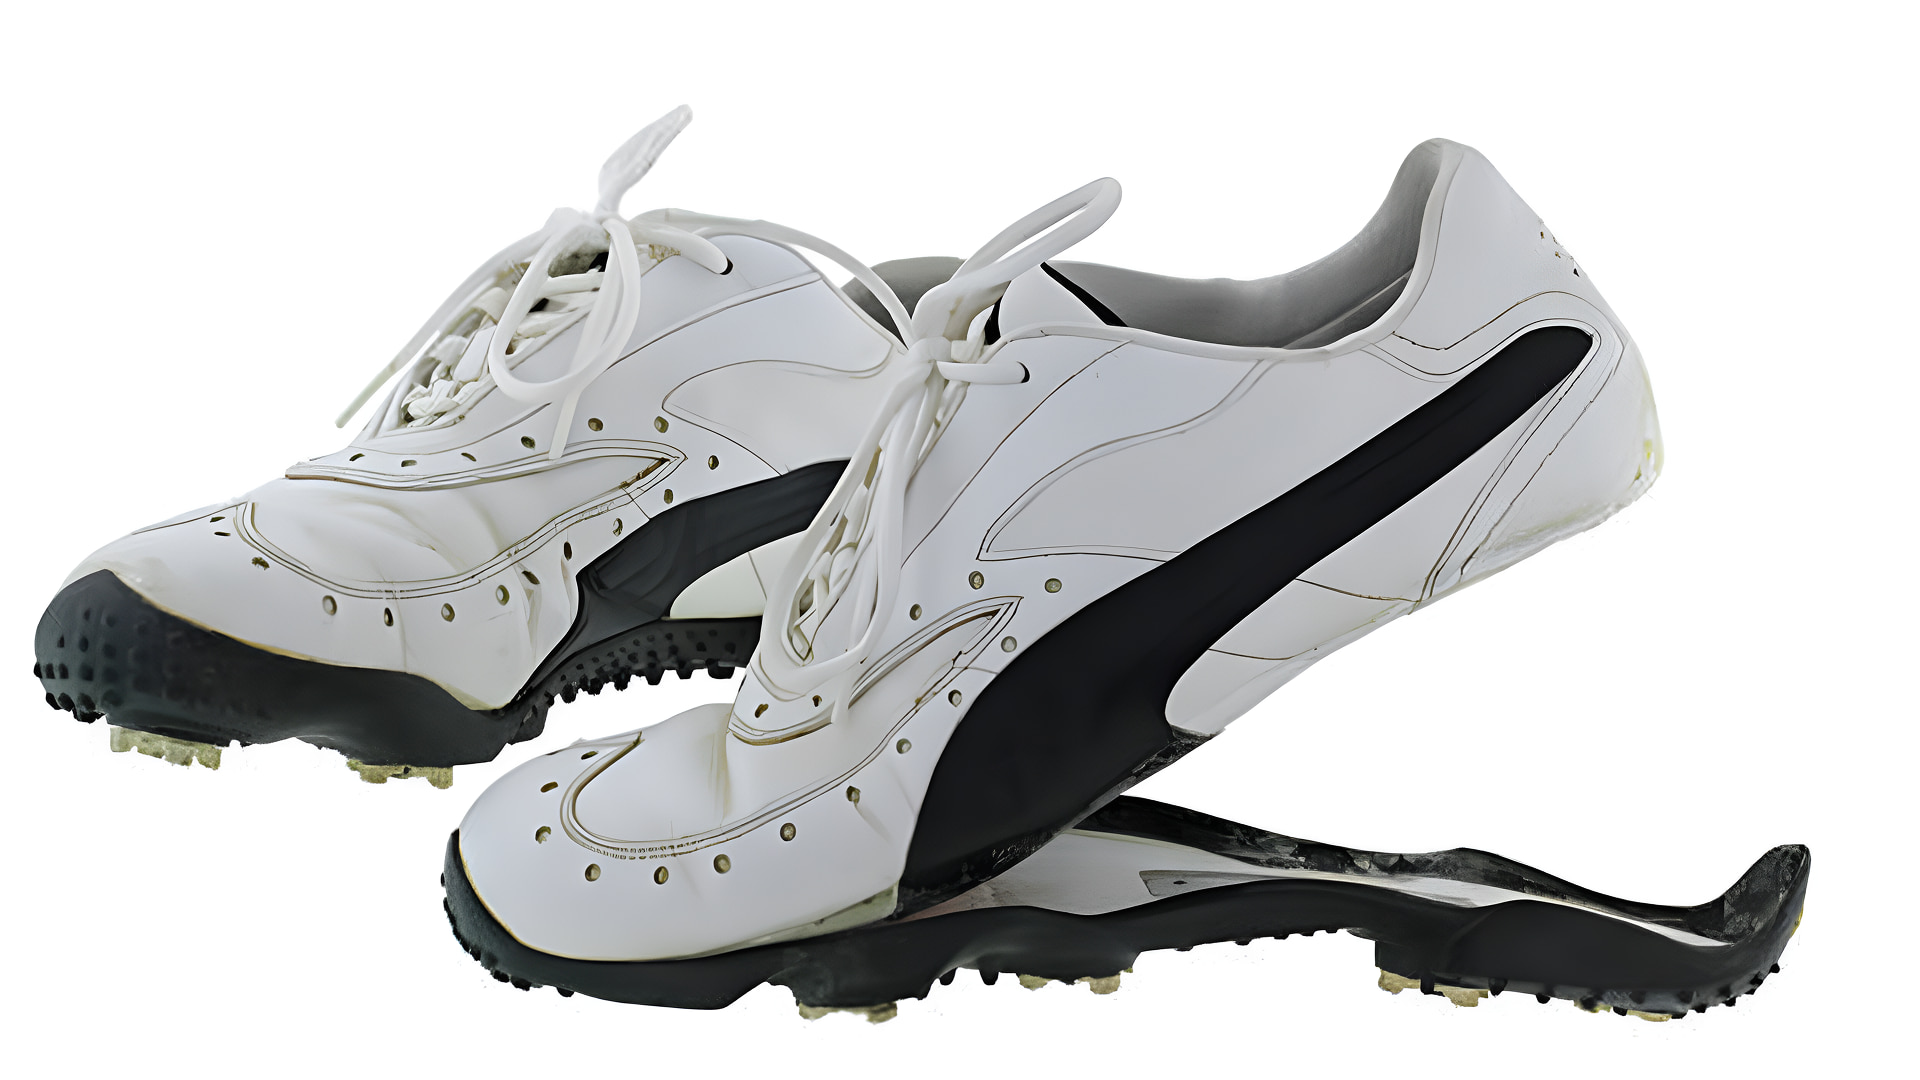
How to Fix Shoe Sole Separation on Running Shoes
Running shoes are made with soft, flexible materials and often go through more wear and tear. When the soles of these shoes separate, the same steps apply, but be more careful with the glue.
Use something light to press down, like a stack of books, rather than a heavy object. This keeps the shape of the running shoe safe while the glue dries.
How to Repair Shoe Sole Separation on High Heels
High heels require more attention because of their shape and balance. If the sole or heel cap comes loose, clean the area and use a thin layer of glue.
After pressing it in place, make sure the heel is aligned straight before taping. A small tilt can make walking uncomfortable or even dangerous. Let it dry fully before wearing the heels again.
How to Repair Shoe Sole Separation on Leather Shoes
Leather shoes are usually more expensive and require careful handling. Use a glue that works with leather and follow the same steps: clean, apply, press, tape, and cure.
If the leather wrinkles or loses shape during pressing, use tissue paper inside the shoe to help it hold its form. When done right, your repaired leather shoes can look as good as new.
How to Fix Shoe Sole Separation Without Special Tools
If you don’t have a glue brush or masking tape, don’t worry. You can use a cotton bud or even an old toothbrush to apply glue. Instead of tape, use rubber bands or even string to keep pressure on the shoe. As long as you apply even pressure and keep it in a dry place, your repair should still work well.
When Home Repair May Void Your Shoe Warranty
Some branded shoes come with a return or replacement warranty. If you try to repair them at home, you might lose your chance to get a free replacement.
Always check the brand’s return policy before doing any fixes yourself. In some cases, sending the shoes back to the company for repair might be the best option.
Conclusion
Learning how to fix a shoe sole separation can save your favorite shoes from being thrown away. With a bit of time and the right glue, they’re easy to repair. But if you’re unsure or short on time, The Laundry Hub offers expert shoe care and repairs.
They’ll handle everything, making your worn shoes feel fresh, sturdy, and ready to wear again. Contact The Laundry Hub at [email protected] or call +9718005482. Visit us at 02, Fatima Al Suweidi, UAE for expert shoe repairs and professional care you can trust.
Frequently Asked Questions
How long does shoe glue take to dry fully?
Most shoe glues take around 24 hours to dry fully. This curing time ensures a strong, lasting bond between the sole and upper part of the shoe for reliable wear.
Can I fix sole separation without any tools?
Yes, household items like cotton swabs, books for pressure, and string can work well if you don’t have brushes or tape when repairing separated shoe soles at home.
Is shoe sole separation permanent damage?
No, it’s not permanent. Most sole separations can be repaired at home unless the shoes are very old or the damage is deep, cracked, or beyond simple gluing.
What glue should I use to fix my shoe sole?
Use a waterproof adhesive made for rubber or leather. Look for glue labeled specifically for shoe repair to ensure a strong, lasting bond that holds up under regular use.
Can I walk in the shoes right after gluing?
No, you should wait a full 24 hours after applying the glue to let it cure completely. Walking too soon can weaken the bond and ruin the repair.